Rollator LED Front Light 1600 Lumen with Battery Pack

Improve your rollator with the powerful 1600 Lumen LED head light, designed to light up your path.

SKU: 11-90-033
Stock Status: In Stock
Region: Available
(Item does not ship from the EU to Australia, Canada, or the USA.)
Delivery Status: 3-5 working days
86.52 €
Including Tax: 3.33 € (4%)
pcs

Get your personalised quote
Tell us what you need, and we’ll send you a personalized quote.
Request a Quote
Receive Your Quote
No obligation • We typically reply within 24 hours
Fast response
No credit card required
Free quote

Rollator LED Front Light 1600 Lumen with Rechargeable Battery Pack

Purpose:         To see
Light power:   1600 Lumen

Enhance your rollator with the powerful 1600 Lumen LED Headlight, designed to light your path precisely and efficiently. Equipped with an advanced anti-glare lens design, this headlight ensures maximum visibility without causing discomfort to others. Whether navigating in low-light conditions or complete darkness, its multiple lighting modes (25%, 50%, 100%, and flash) allow you to adjust brightness according to your needs.

This high-performance light features 2 Samsung LH351D LEDs, delivering up to 1600 lumens while operating within a 5V to 15V DC voltage range. It also includes a built-in thermostat chip that prevents overheating, ensuring safe and consistent performance.

Accessories include an GoPro bracket, an aluminum light holder, and all necessary nuts and screws for easy installation. With a generous 130cm cable length and an IP65 waterproof rating, this headlight is built to handle outdoor conditions confidently.

Illuminate your journey with this durable, high-lumen headlight, and enjoy enhanced safety on every adventure.

Max power: 1600 Lumen
Voltage: 5V-15V DC
LED type: 2*Samsung LH351D LED
Mode: 25%-50%-100%-flash
Accessories: GoPro bracket + Aluminum light holder and nuts and screws
Cable length: 130CM
Waterproof level: IP65
Battery pack: 7.4V/5000mAh 37Wh waterproof with digital power display
Shipping Procedure: UN3481 - Lithium-ion batteries in compliance with Section II of PI966”.
Steady modes (one click): 25%(400LM, 14h) / 50%(800LM, 7h) /100% (1600LM, 3.5h)
Power Indicator: When the input voltage is less than 6.5V, the power indicator shows red. But, it doesn't mean your battery is low voltage if the input voltage for the light is set to 6 V or less.

User Guides

The documentation for this product includes the manuals and instructions listed below. You can choose to view the documentation online or download it for local use.

1600 Lumen Trionic LED Front Light with Battery Pack

This manual both shows how you attach the light holder and the light on a Walker (left column below) and also how you attach them on a Veloped (right column below).

In the left-hand photo, A shows the holder attachment parts for a Walker (2 screws + 2 washers). B shows the holder attachment parts for a Veloped (1 screw + 1 knurled nut + 1 nut).

1600 Lumen Trionic LED Front Light with Battery Pack

Attaching the Light Holder

Instructions for a Walker
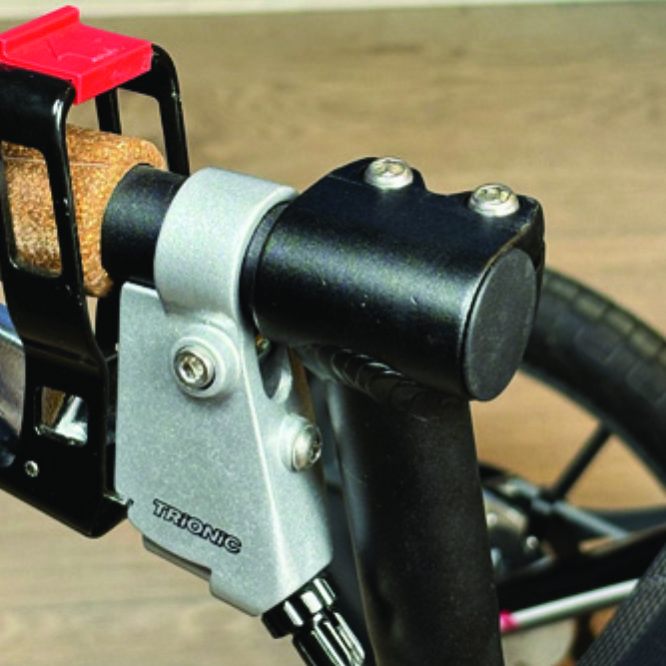
On top of the black semi-vertical tube, locate the two screws that clamp the grip tube, situated in front of the brake lever.
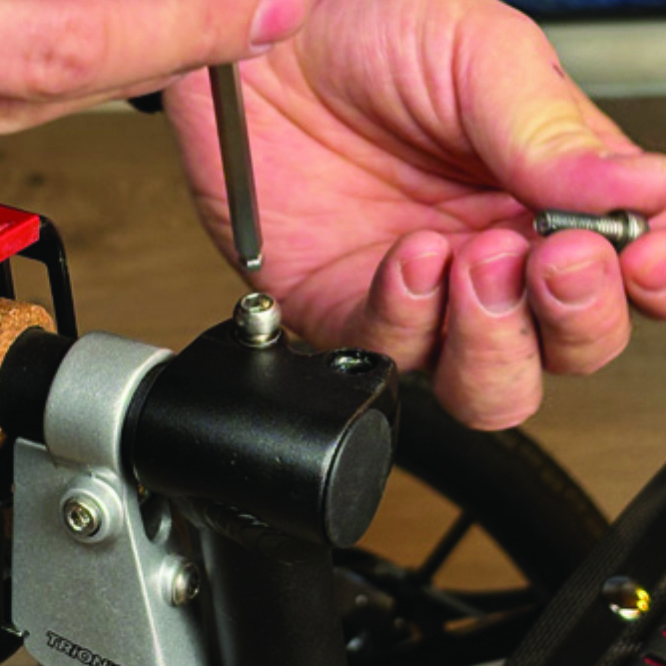
A1. On top of the black semi-vertical tube, locate the two screws that clamp the grip tube, situated in front of the brake lever.
Loosen both screws with the 5mm allen key included with the LED light.
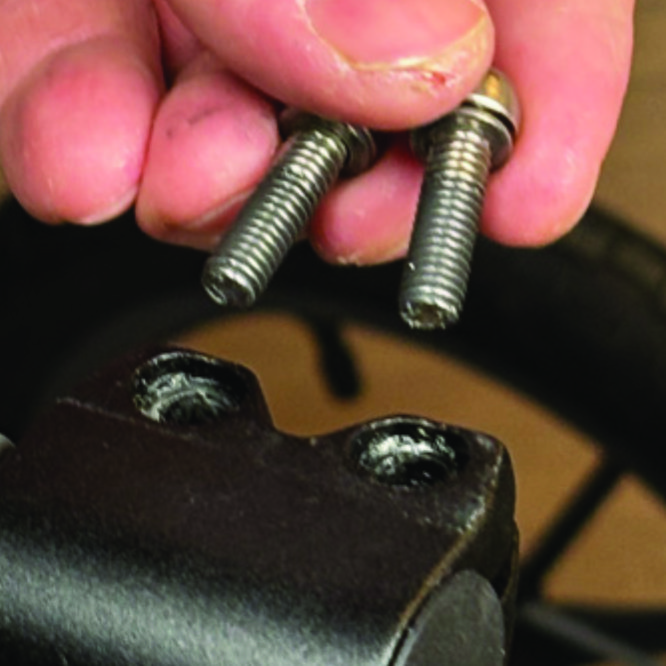
A2. Loosen both screws with the 5mm allen key included with the LED light.
Remove the two screws from the grip clamp.
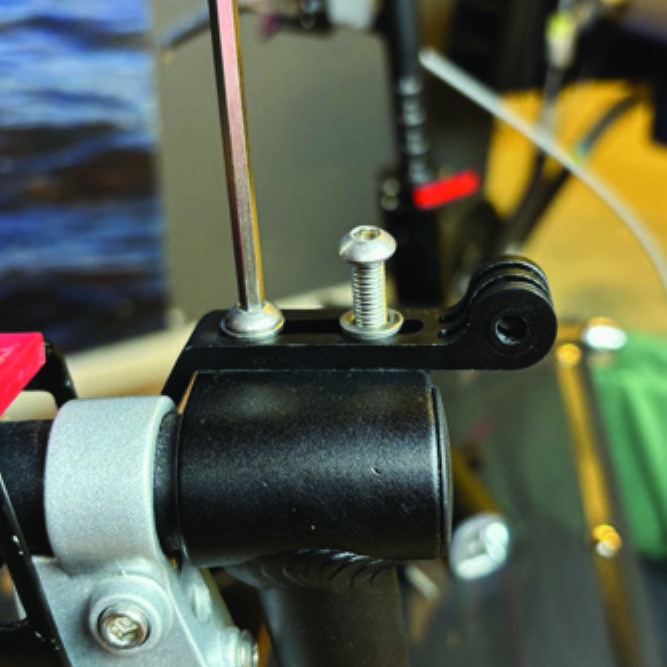
A3. Remove the two screws from the grip clamp.
Place the light holder on top of the grip clamp, with its circular and slotted light attachment pointing forwards and upwards. Enter the two screws with washers into the holes of the clamp.
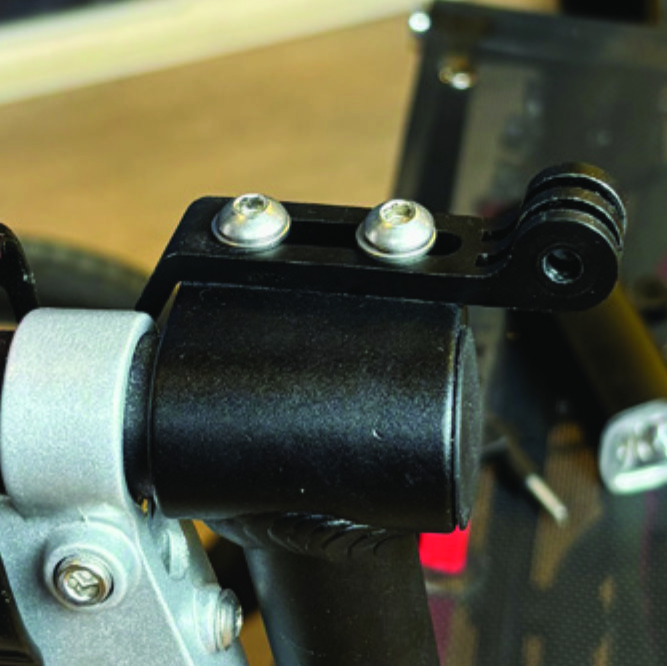
A4. Place the light holder on top of the grip clamp, with its circular and slotted light attachment pointing forwards and upwards. Enter the two screws with washers into the holes of the clamp.
Tighten the two screws with the 5mm allen key. NOTE: It is important that you tighten the screws properly as they secure the grip tube with its rubber grip and brake lever.
A5. Tighten the two screws with the 5mm allen key. NOTE: It is important that you tighten the screws properly as they secure the grip tube with its rubber grip and brake lever.

Instructions for a Veloped
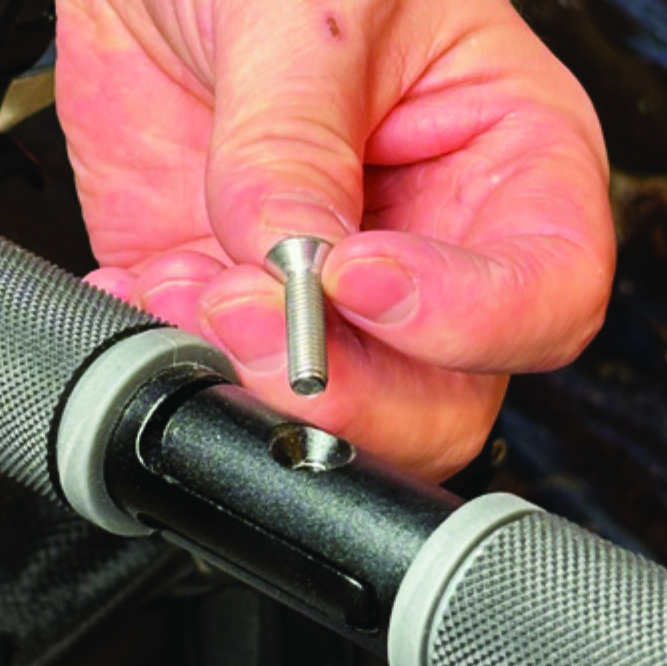
Locate the screw at the center folding hinge of the U-shaped grip bar of the Veloped. Unscrew the screw with the included 4mm allen key and remove it.
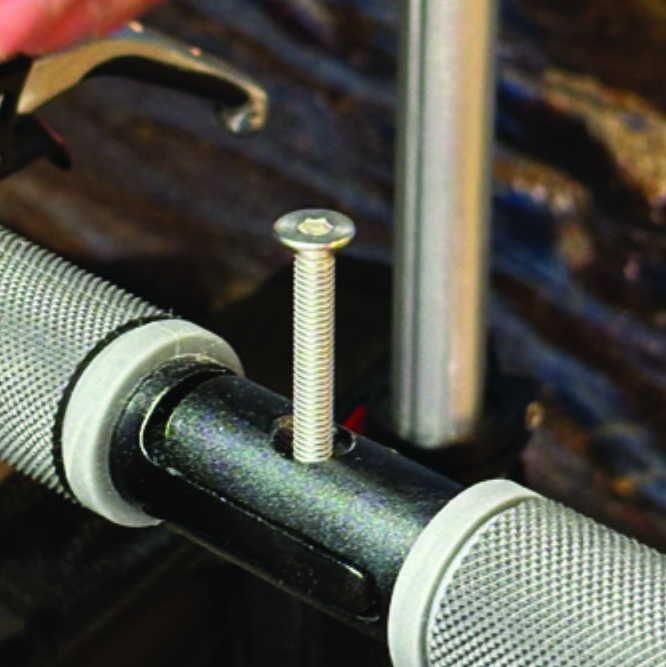
A1. Locate the screw at the center folding hinge of the U-shaped grip bar of the Veloped. Unscrew the screw with the included 4mm allen key and remove it.
Replace the old screw with the longer screw included with the LED light. Attach the longer screw to the hinge and tighten it with the 4mm allen key.
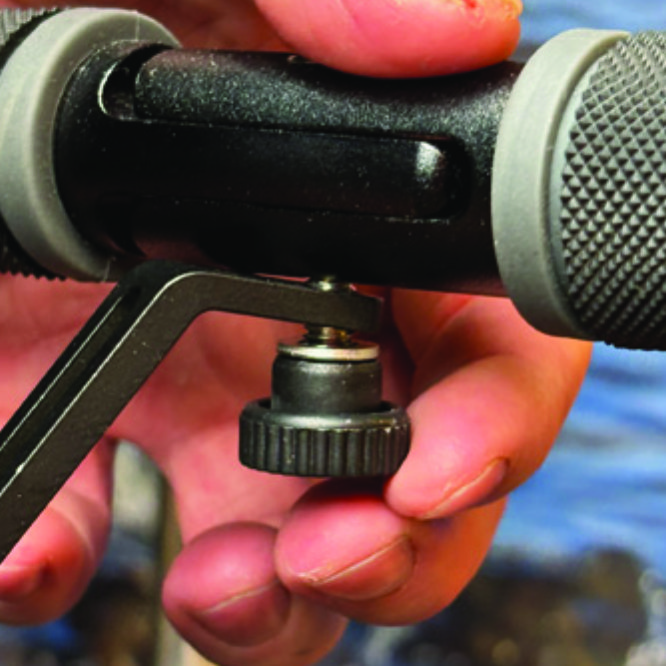
B2. Replace the old screw with the longer screw included with the LED light. Attach the longer screw to the hinge and tighten it with the 4mm allen key.
Attach the short angled end of the light holder to the lower end of the screw, on the downside of the grip bar. Fasten the holder with one washer and the knurled nut.
B3. Attach the short angled end of the light holder to the lower end of the screw, on the downside of the grip bar. Fasten the holder with one washer and the knurled nut.
For a more secure holder attachment, avoiding the holder to unintentionally turn sideways, replace the knurled nut with the included stainless steel nut and tighten it with a 10mm spanner.
B4. For a more secure holder attachment, avoiding the holder to unintentionally turn sideways, replace the knurled nut with the included stainless steel nut and tighten it with a 10mm spanner.
This photo shows the light holder as correctly attached.
B5. This photo shows the light holder as correctly attached.

Attaching the LED Light to the Holder

Instructions for a Walker
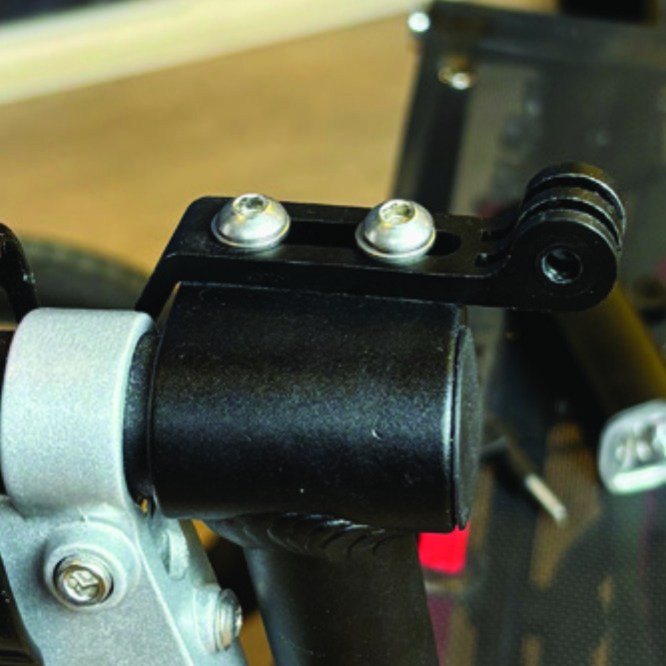
Identify the circular front end of the light holder, with two slots for attaching the light.
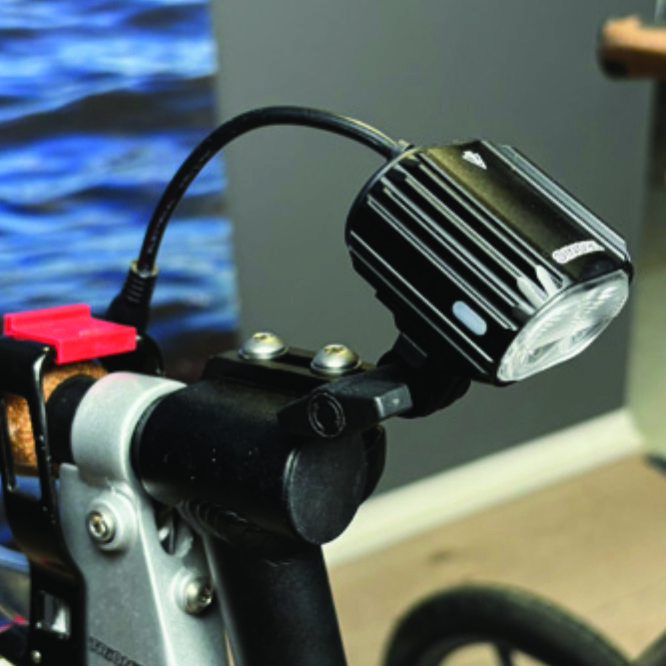
A6. Identify the circular front end of the light holder, with two slots for attaching the light.
Push the slotted bracket of the light into the slots of the holder and make sure they are aligned. Seen in the traveling direction of the Walker, enter the included wingnut from the left and tighten it.
A7. Push the slotted bracket of the light into the slots of the holder and make sure they are aligned. Seen in the traveling direction of the Walker, enter the included wingnut from the left and tighten it.

Instructions for a Veloped
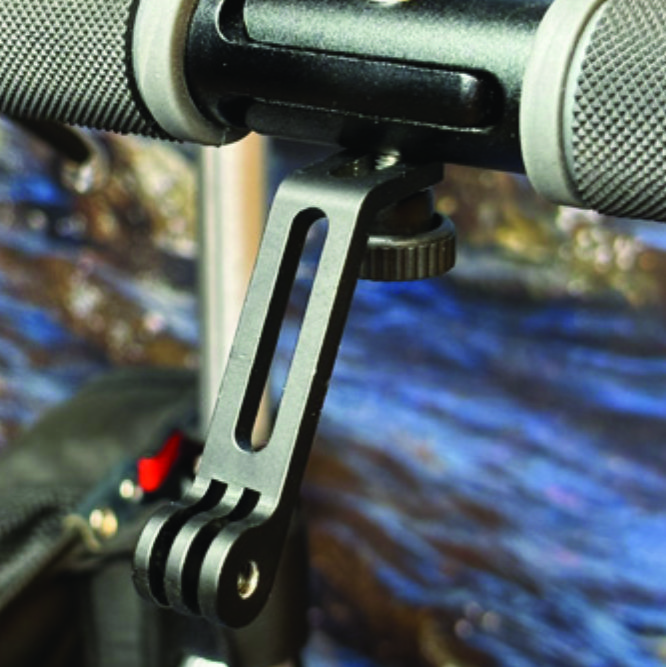
Locate the screw at the center folding hinge of the U-shaped grip bar of the Veloped. Unscrew the screw with the included 4mm allen key and remove it.
B6. Locate the screw at the center folding hinge of the U-shaped grip bar of the Veloped. Unscrew the screw with the included 4mm allen key and remove it.
Identify the circular front end of the light holder, with two slots for attaching the light.
B7. Identify the circular front end of the light holder, with two slots for attaching the light.

Placing the Battery Pack

Instructions for a Walker
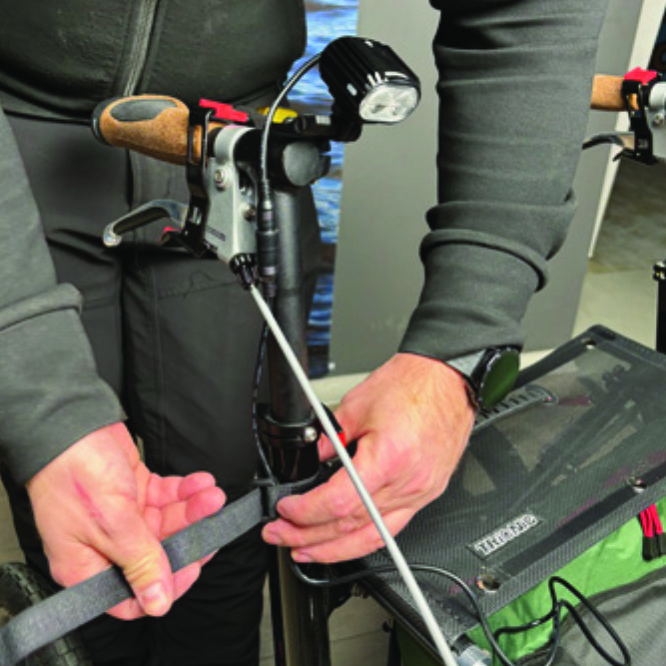
Run the longer extension cable along the semi-vertical grip tube of the Walker and secure it with the included velcro strap.
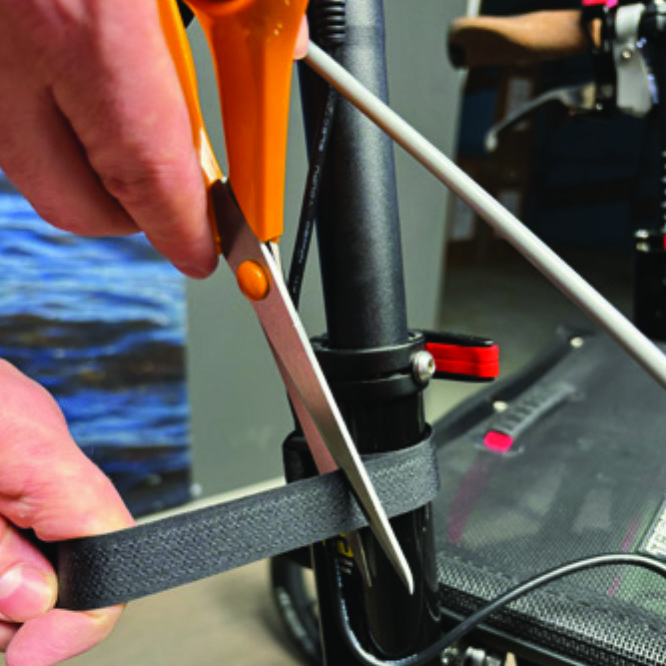
A8. Run the longer extension cable along the semi-vertical grip tube of the Walker and secure it with the included velcro strap.
You can cut the excessive length of the velcro strap with a pair of scissors.
A9. You can cut the excessive length of the velcro strap with a pair of scissors.
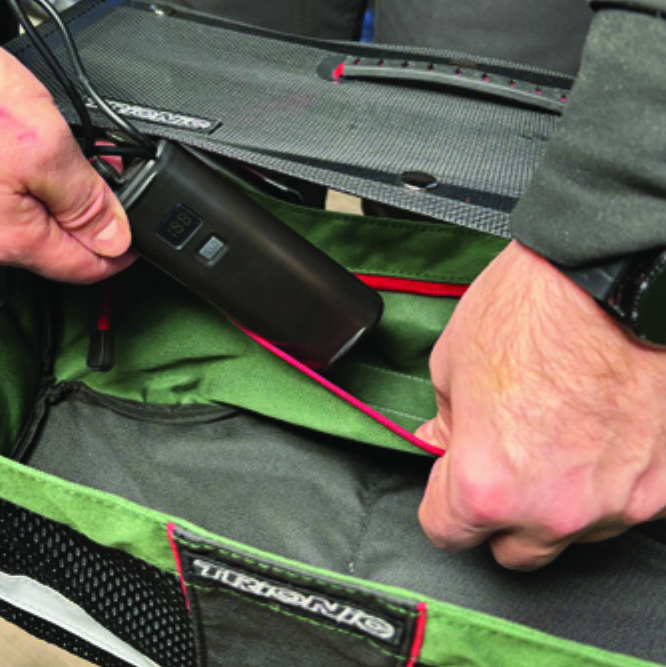
Place the battery pack in the rear zippered pocket of the basket.
A10. Place the battery pack in the rear zippered pocket of the basket.

Instructions for a Veloped
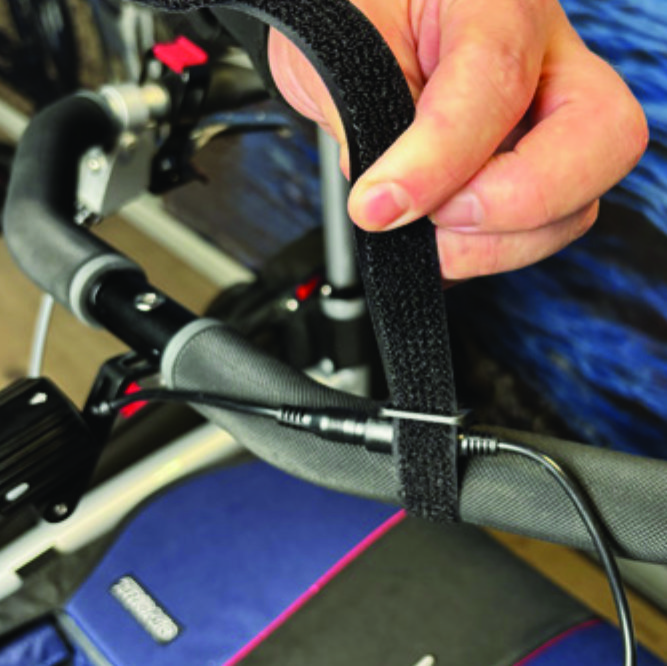
Run the longer extension cable along the U-shaped grip bar of the Veloped and secure it with the included velcro strap.
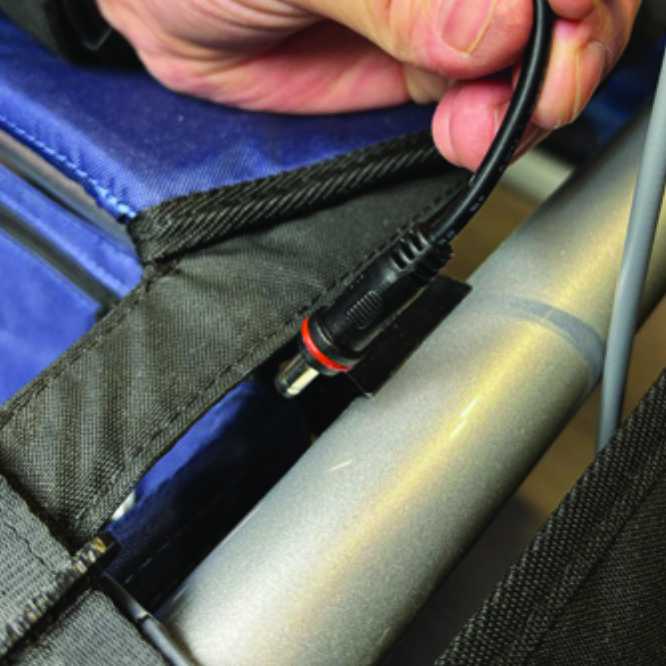
B8. Run the longer extension cable along the U-shaped grip bar of the Veloped and secure it with the included velcro strap.
You can cut the excessive length of the velcro strap with a pair of scissors.
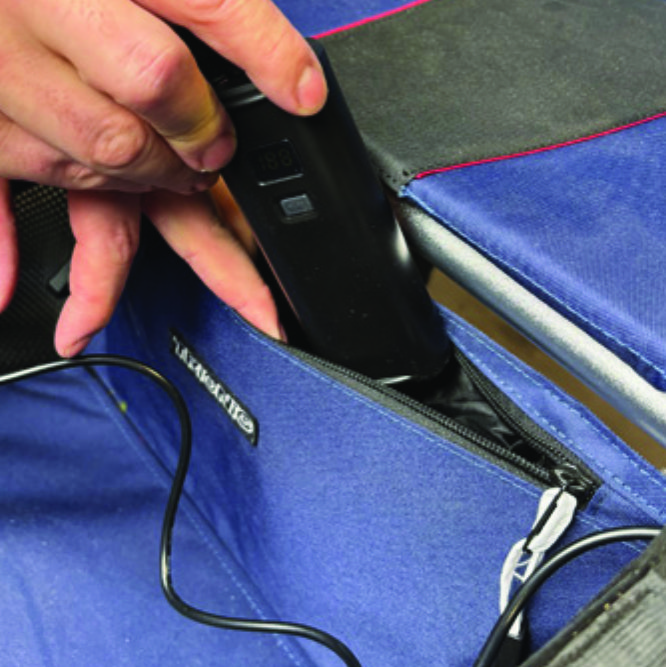
B9. You can cut the excessive length of the velcro strap with a pair of scissors.
Place the battery pack in the rear zippered pocket of the basket.
B10. Place the battery pack in the rear zippered pocket of the basket.

The package contains

The package contains

How to operate the light

How to operate the light

Customer Reviews

Be the first to post a review for this product

General FAQ

Relevant Guides

Search help

Also Purchased Products

Product Reviews    

  • Peggy Hollick…

    Due to ongoing health problems, Maurice (as my 12er has been dubbed) and I have not had as many outings as I would have wished but on each occasion, he has not let me down on the rough, uneven ground, whereas my conventional Rollator would balk at th…

  • A Well Earned Review…

    I am very proud of this Walker. It is a pleasure to use.…

  • Trionic Veloped…

    This walker is Suburb! I have had the Veloped for almost two months now, and LOVE IT so much! It climbs Curbs and almost anything. I take it on my walks regularly. Down Hills, up Hills, over tree stumps, Grass, Gravel, Curbs and it has no problems! G…

  • Veloped Tour 12er M black/reflex/red…

    I use this for walking my dogs every day. I am delighted with it. I wish that I had known about it years ago. I have used a walker for years, but have never had such a good one as this. I walk a lot better with this one. We can have longer walks and …

  • I am so pleased with my Veloped Trek 14…

    I am so happy that a product like this is around. It helps me walk upright, it helps me keep my balance, and I can sit and rest anytime. It is lightweight, can be folded, and is easy to transport in a small car. I have good experience in restaurants …

  • Veloped Tour 14"…

    I have been using the Veloped Tour rollator with 14-inch wheels every day for two months. The solid construction fully meets the expectations placed on it: ease of movement, low vibration, and mobility especially off-road. The ingenious construction …

  • Truly superior…

    Our son is very happy with this high-quality rollator. The very good brakes in combination with the large pneumatic wheels give him much more safety than he had with previous rollators. The handles are also much better than on his former ones. The sy…

  • Rollator Walker 14er M/L green/black/red…

    Hi
    My name is Ian Hart and I live in VT . I am delighted with my Trionic Walker 14er! It does everything I need in every way. I am a Type1 diabetic who has had the disease from the age of 13, I am now 76 and it is not surprising that I have balance …

  • Finally – no more stumbling!…

    Hello, Trionic!
    Back issues (spinal stenos) since many years back that strongly affected my musculoskeletal system, led to me finally making the decision to get a walker. Found Trionic's webpage online. Okay, this was certainly something I had to tr…

Subscribe to our newsletter!

"> ?>